

Part two: Preparations
Have you gathered all your supplies? Good, then let’s get things prepped to can. Remember to take your time on this. Canning is a great way to preserve food and make sure that you have healthy food all year. However, it is easy to contaminate your food if you don’t take the time to do your preparations thoroughly and that can lead to anything from minor food poisoning to salmonella to botulism.
–The kitchen itself. Canning tends to take up a lot of room, take some time to make sure that you have a fairly large surface to work on, including an area that will have items on it for up to 24 hours. You will need three burners clear to cook on. Also completely empty your sink.
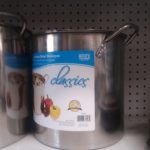
–Jar inspection. Check over the jars. There should be no nicks or cracks on the jars. Remember that jars can, and have, exploded because of minor imperfections. Also a nick on the lip will keep a jar from sealing, allowing in bacteria that can make you seriously ill.
–Lid/ring inspection. The underside of the lids should be free from scratches. The sealing gasket (the ring of stuff on the bottom) needs to be even and complete all the way around or else the lid will not seal correctly. Try the rings on your jars to make sure that they fit and that the threads are correct. This is all about getting a good seal to keep you from getting sick.
–Jar cleaning and sanitation. Important, even if your jars are new they still need to be cleaned. Even if you got them from your mom and she swore that she sanitized them, do it again. It won’t hurt anything and it will help keep you and others eating your product from getting sick.
Wash jars, lids, and bands with warm soapy water. Rinse thoroughly! The jars and lids can stay wet, but dry the bands. You can put jars and lids in the dishwasher as well.
–Getting the jars ready for canned goods. Put the jars into a saucepan/stockpot that they can be submerged in (not your canning pot). Fill the pot with water until it covers the jars. Remember to put the jars top up and put some water in them to prevent them from floating. Put the pan on the stove and bring water to a simmer, do not let it boil. You are going to keep your jars here until you are ready to fill them.
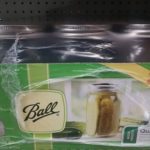
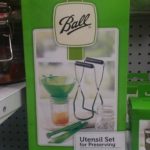
–Lids, There are two schools of thought on lids. Ball Canning says that their lids do not need to be heated to create a good seal. Most people though feel that this is an essential step. It will not hurt the lids, but it will be difficult to get them out of the hot water one by one to use them unless you are using a jar lid magnet. If you heat your lids, use a separate pot than the one your jars are in.
–Canning pot. Put your rack on the bottom of the pot that you are going to can your items in. Fill the pot about halfway with water. You want enough that it will cover the jars when you put them in, but remember that this water is going to boil so don’t fill it up all the way or it will boil over on your stove.
–Put your canning pot on another burner than your jar pot and let the water in it come to a simmer. Keep it at a simmer as you prep your food.
–Put your thick towel on the counter, where it will not get in your way for up to a day. This is where the finished jars are going to rest once they have been filled and processed.